You can make a YouTube video easily by following these:
- Develop a YouTube Strategy
Identify your target audience, set clear goals, and plan consistent content to keep viewers engaged. - Start Recording Your Video
Use basic equipment like a smartphone, or upgrade to cameras, microphones, lighting kits, and tripods for better quality. - Find Video Ideas
Research competitors, use YouTube search suggestions, gather audience feedback, or explore trending topics with tools like Google Trends. - Edit Your Video
Refine your footage, add transitions, music, and text overlays, and ensure audio-visual sync for a polished look. - Optimize with YouTube SEO
Use keyword-rich titles, detailed descriptions, relevant tags, and subtitles to improve visibility and reach.
YouTube has become an incredibly popular platform for sharing and consuming video content. With over 2 billion active users, it’s no surprise that many individuals and businesses create and share YouTube videos. Whether you want to create content for fun or use YouTube to promote your brand, this guide will provide the crucial steps on how to make a YouTube video.
We know you are curious and excited to start creating your own YouTube videos, so, let’s cut the long story short and get right into it!
YouTube Video Strategy
Before you hit that record button, let’s take a step back and think about your strategy. Every successful YouTube channel starts with a solid plan. Ask yourself these questions: Who is your target audience? What type of content will keep them coming back for more? What’s your ultimate goal—fun, brand promotion, or monetization?
A clear strategy not only keeps you focused but also ensures you’re building a channel with a purpose. For beginners, it’s all about consistency. Whether you aim to post weekly vlogs or monthly tutorials, sticking to a schedule helps build trust with your audience and keeps them engaged. Remember, even the most famous YouTubers had to start somewhere, often with nothing but a plan and a lot of determination.
1. Start Recording Your Video
Lights, camera, action!
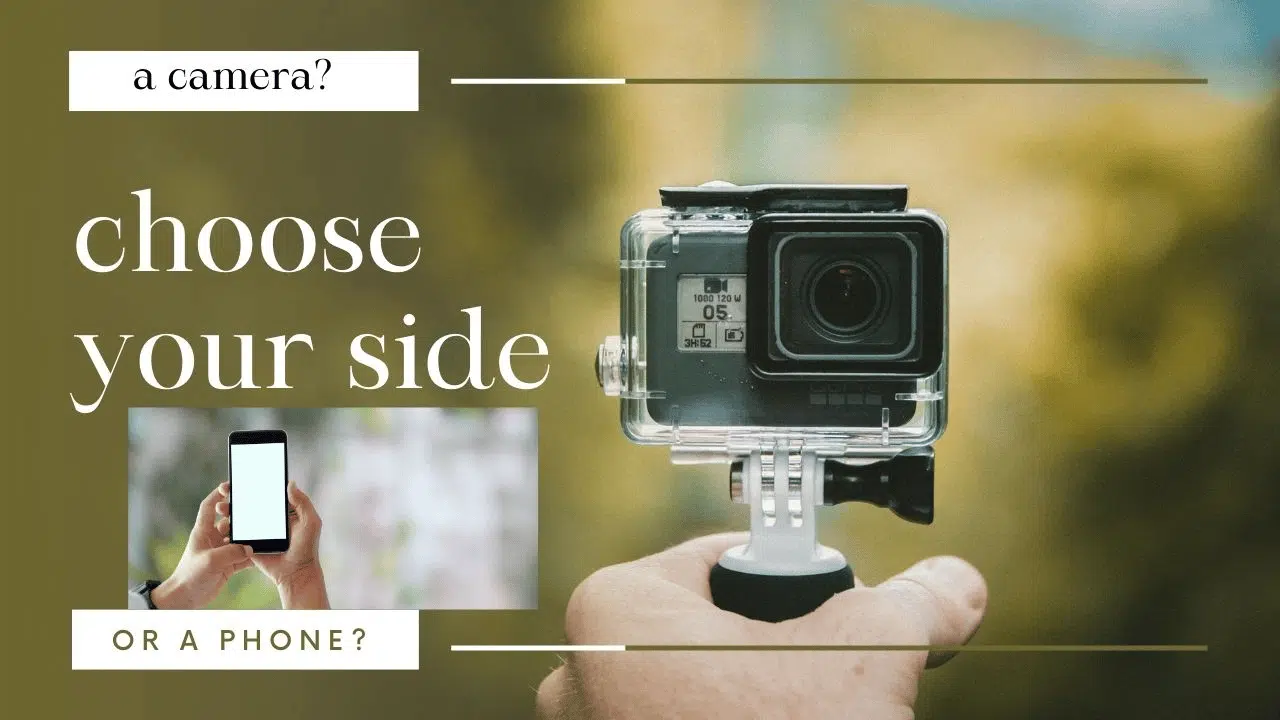
What’s remarkable about YouTube is that, from my own experience as a YouTuber, you don’t need to invest heavily in equipment to achieve success. As a beginner, all it takes is a tripod with your smartphone or the use of a screen recorder to create your very first YouTube video. Remember, even the most viewed YouTube video likely started with humble beginnings.
However, so many professional video creators have additional equipment they find useful, and you can be one of them if you have a camera, microphone, lighting kit, and tripod. Here’s what you would need them for:
Camera for a high-quality video
When you want to create high-quality videos, you need to have a cost-effective camera. If you have good money, search for a DSLR camera.
Otherwise, you can buy compact or mirrorless cameras. If your budget is not enough for any of them, use your phone at the beginning because many YouTubers started out like that!
Why Microphone?
With a good microphone, your audio will be clear and free from distortion and background noise. Viewers are more likely to engage with your video and stay engaged throughout its duration when the audio quality is clear and easy to understand.
A good microphone can also help you convey your message with more emotion and authenticity, which can further enhance the overall quality of your video.
Lighting Kit for a Vivid Vision
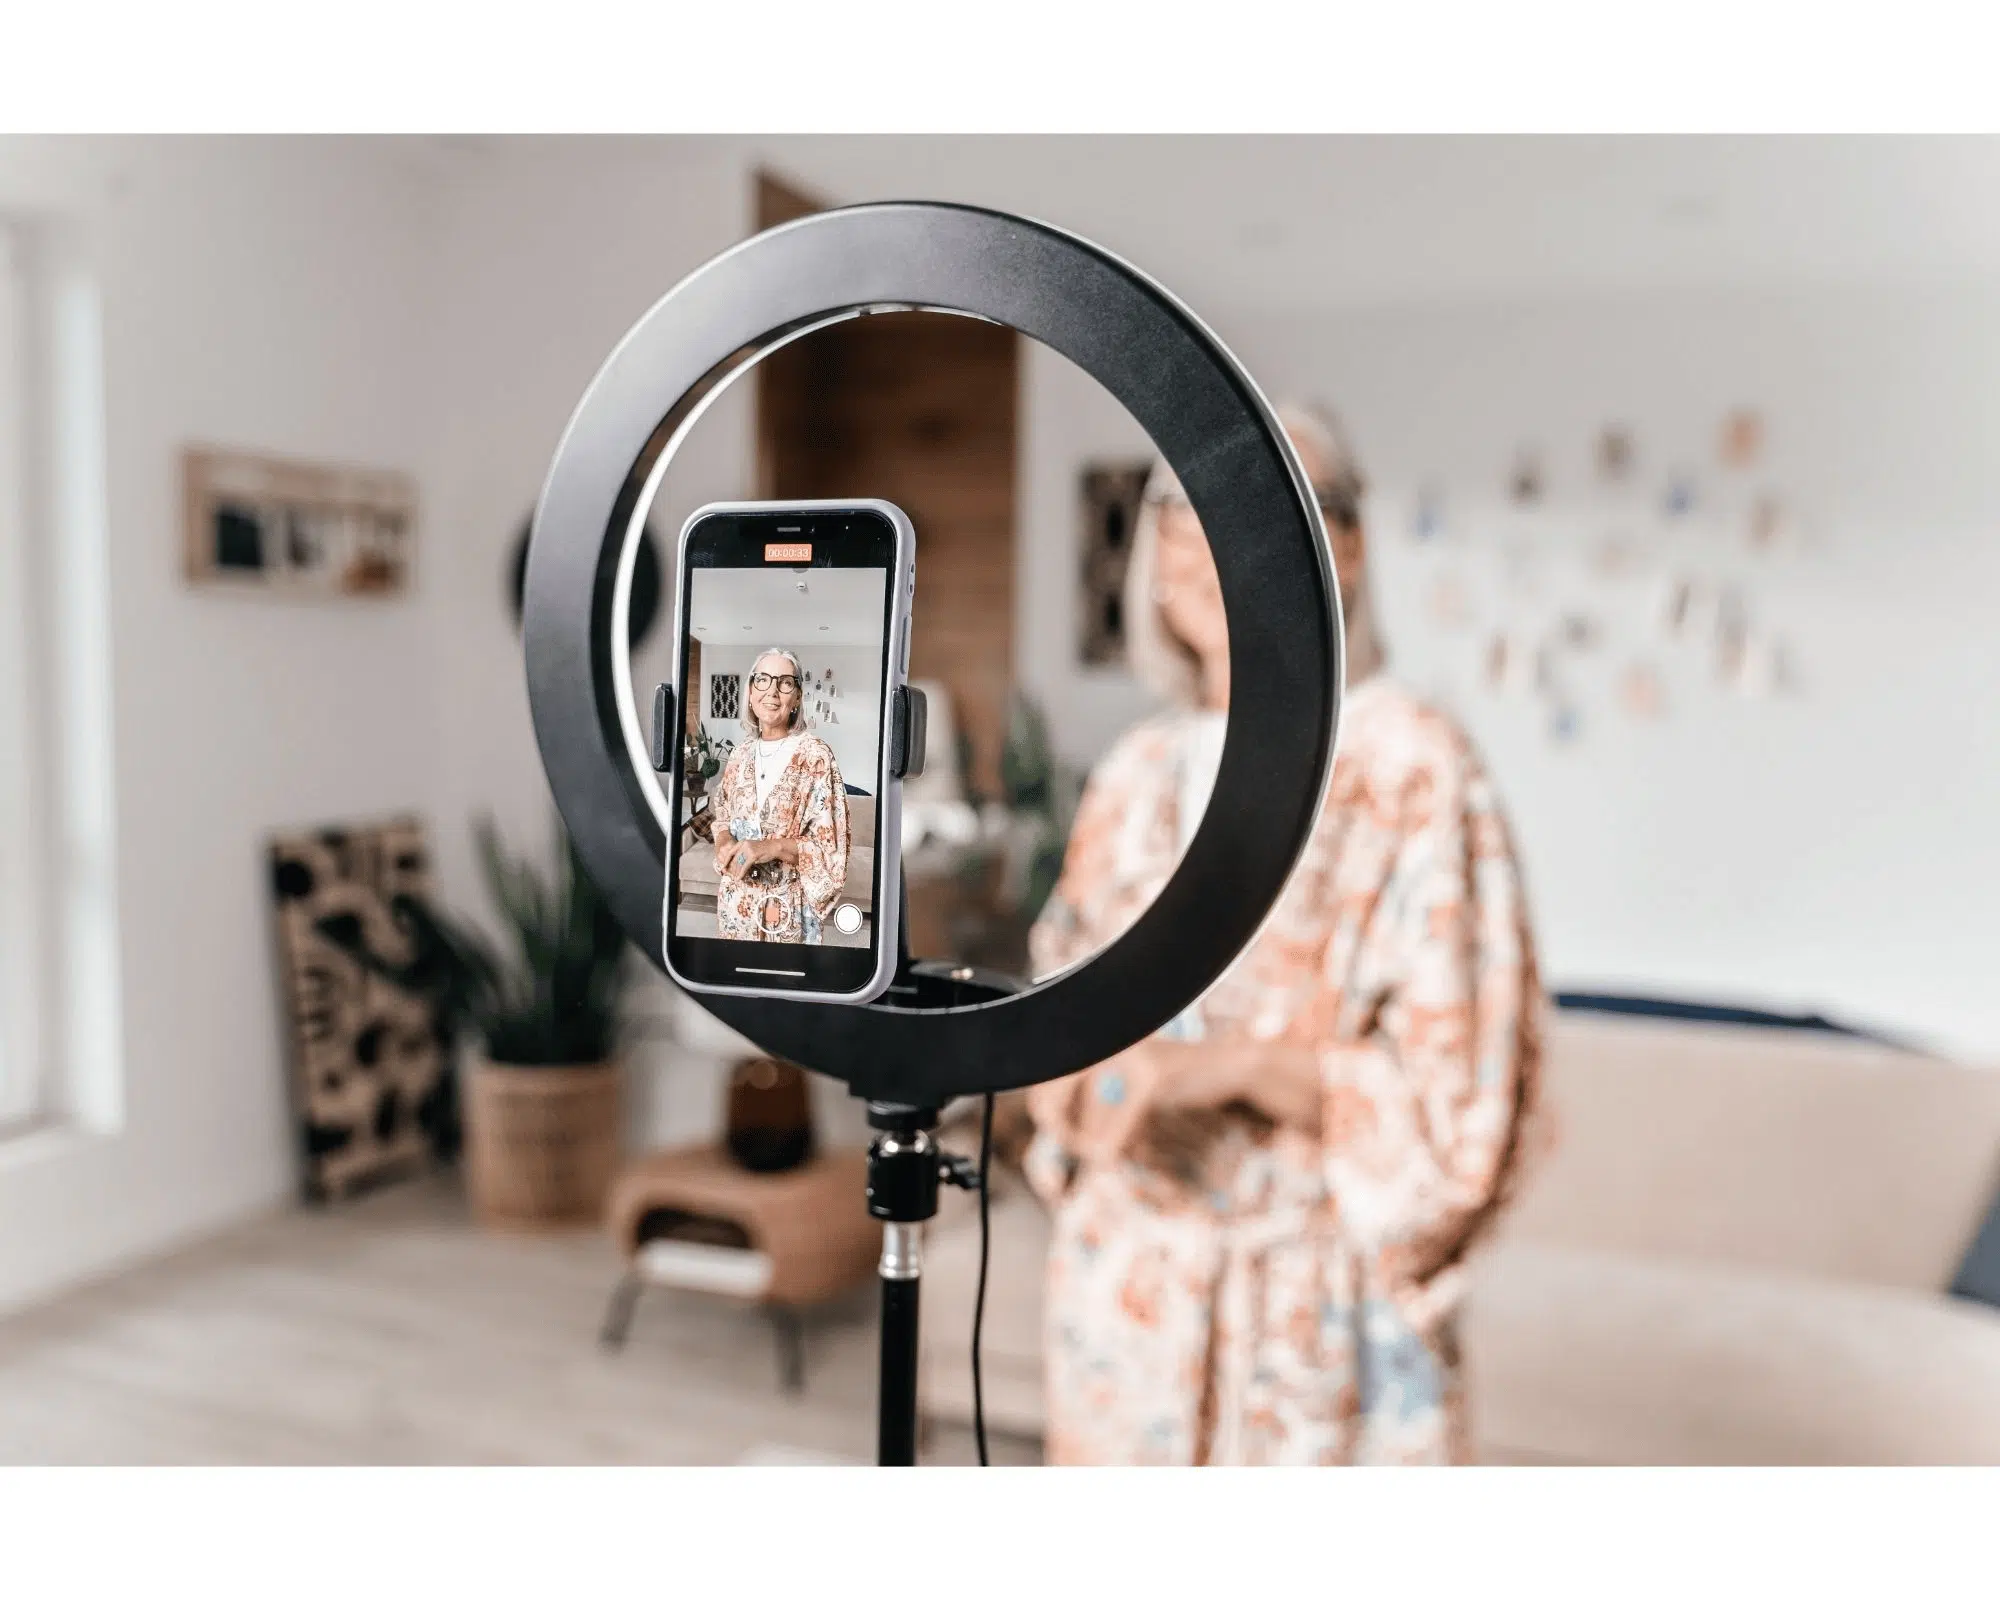
A lighting kit can provide consistent, high-quality lighting that advances the visual appeal of your video and helps to convey your message clearly and effectively. Good lighting can also make you look more professional, and lends a hand in establishing a strong brand identity for your YouTube channel.
Tripod for Stabilization
First and foremost, a tripod provides stability, which is critical for capturing steady footage. Shaky footage can be distracting to viewers and make your video appear unprofessional. No worries about camera rolling with a tripod, you can adjust the height and positioning of your camera, allowing you to capture a variety of shots and angles.
Now, with a tripod, you can:
- Set up your equipment.
- Choose a location that fits your video’s concept and has good lighting and sound.
- Record your footage, following the script or outline you prepared.
Finding Video Ideas
We’ve all been there—staring at a blank screen, wondering, “What should I make a video about?” No worries, bruv! Here are some tips to help you generate fresh and exciting ideas:
- Research Competitors: Take a peek at other channels in your niche. What’s trending? What questions is their audience asking? This isn’t about copying—it’s about understanding what works and putting your own spin on it.
- Use YouTube Search: Start typing keywords into the search bar and see what suggestions pop up. These are real topics people are searching for, so use them to your advantage.
- Audience Feedback: Got a small audience? Ask them directly! Use polls, comments, or even Instagram Stories to find out what they’d like to see next.
- Tools Like Google Trends: Discover what’s buzzing online. Match those trends with your niche to create relevant content that gets clicks.
2. Proceed with Editing Your Video
If you’re looking to create compelling and engaging YouTube videos, one of the most important steps is editing.
Editing allows you to refine your footage, cut out unnecessary parts from your screen recording, and add special effects or transitions to make your video more dynamic and engaging. And of course, a great video editor helps immensely with tasks like how to delete a YouTube video when necessary.
In this section, we’ll cover some key video editing tips and techniques for your YouTube videos using popular video editing software like Adobe Premiere Pro or Final Cut Pro.
Now that you understand the importance of editing in video creation, let’s take a moment to talk about what it requires for the sake of your first YouTube video.
Video Editing Tips
Whether you’re new to video editing or have some experience, these tips will help you create professional-looking videos that stand out on the platform and captivate your audience.
- Use jump cuts: Jump cuts are a great way to create a fast-paced feel to your video. Simply cut out any dead space between sentences or thoughts, and stitch the footage back together. This creates a more dynamic video that keeps the viewer engaged.
- Add music: Music is a powerful tool that can set the tone and mood for your video. Use music to enhance the emotion your video triggers in your audience, and keep the viewer engaged.
- Use text overlays: Adding text overlays can help highlight important points in your video, and keep the viewer focused on the topic at hand.
- Use color grading: Color grading can make your videos look more professional and visually appealing. Experiment with color grading to find a look that suits your video.
- Use transitions: Transitions can add visual interest and help tie your footage together. Give it a try with different types of transitions to find what works best for your video.
Remember, these are just a few video editing tips to get started. Don’t be afraid to test and find what works best for your specific type of video and audience.
Main Steps for Editing
Here are the main steps you need to pay attention to.
Import your footage into video editing software
The first step in editing a video on YouTube is to import your footage into video editing software. Popular video editing software options include Adobe Premiere, Final Cut Pro, iMovie, and Filmora.
Once your footage is imported, you can begin to work on organizing and trimming your footage to create a cohesive story.
Arrange and trim your footage to create a cohesive story
In this step, you will arrange your footage in the order that makes the most sense for your story.
You can trim any unnecessary footage or pieces that don’t contribute to the overall flow of the video. This step is crucial in creating a clear and concise message that engages viewers.
Add transitions, text, music, and other effects to leverage your video
Now that you have arranged your footage, it’s time to lengthen your video with transitions, text, music, and other effects.
Transitions can help create a smooth flow between different clips, while text can help clarify or emphasize certain points.
Music can also help to set the tone and mood of your video, while other effects add creativity and boost viewers’ interest.
Ensure that your audio and visual elements are synced
It’s important to ensure that your audio and visual elements are in sync and adjusted to the right levels. This includes adjusting the volume levels of music, sound effects, and voiceovers.
Additionally, you should ensure that your visuals match your audio, with the right timing and framing to create a seamless experience. Check Adobe Creative Cloud for a little inspiration.
Export your video in the appropriate format and resolution
The final step is to export your video in the appropriate format and resolution. You can choose from various video formats depending on the intended use and audience, such as MP4 or MOV.
Moreover, you should select the appropriate resolution for your video, such as 1080p or 4K, based on the quality of your footage and the intended use.
Once you have selected the appropriate settings, you can export your video and upload it to YouTube.
YouTube SEO
Now, let’s talk about getting your videos discovered. No matter how amazing your content is, it won’t reach people if you don’t optimize it properly. Here’s what you need to know about YouTube SEO:
- Keyword Research: Use tools like TubeBuddy or vidIQ to find the phrases your audience is searching for. Include these keywords naturally in your title, description, and tags.
- Catchy Titles: Your title is the first thing viewers see, so make it count. Use keywords while keeping it intriguing and clickable.
- Descriptions That Deliver: Write a description that provides value. Include relevant keywords, timestamps, and links to other videos or social media profiles.
- Tags: While not as important as they once were, tags still help YouTube understand your content. Add a mix of broad and specific tags to cover all bases.
- Subtitles: Adding subtitles not only improves accessibility but also boosts SEO. You can create them manually or use YouTube’s automatic captioning tool.
With these tweaks, your videos will have a better chance of appearing in search results and reaching a wider audience.
FAQ
What should I do to create ideas about my videos?
You should research competitors if you want to learn how to create YouTube video ideas.
Doing this helps you better understand what type of videos they are making, what topics they are covering, why they are buying YouTube services, and how their audience engages with their content.
By studying successful YouTube channels in your niche, you can learn from their strategies, techniques, and tactics to ideate how to make a YouTube video.
How can I monetize my YouTube video?
To monetize your YouTube video, you will need to join the YouTube Partner Program and meet the eligibility requirements, which include having at least 1,000 subscribers and 4,000 watch hours in the past 12 months.
What video editing software should I use?
There are many editing software options available, including Adobe Premiere, Final Cut Pro, iMovie, and Filmora.
How long should my YouTube video be?
The length of your YouTube video will depend on the type of content you are creating and the attention span of your target audience.
In general, videos that are between 8-12 minutes tend to perform well on the platform, but it’s important to focus on creating content that is engaging and valuable to your viewers, regardless of its length.
How can I make sure my video looks professional?
To make your video look professional, make sure to use good lighting, clear audio, and stable shots. Use a tripod to keep your camera steady, and consider investing in a good microphone for clear audio.
You can also add text, transitions, and other effects to enhance your video and make it look more polished.






Comments